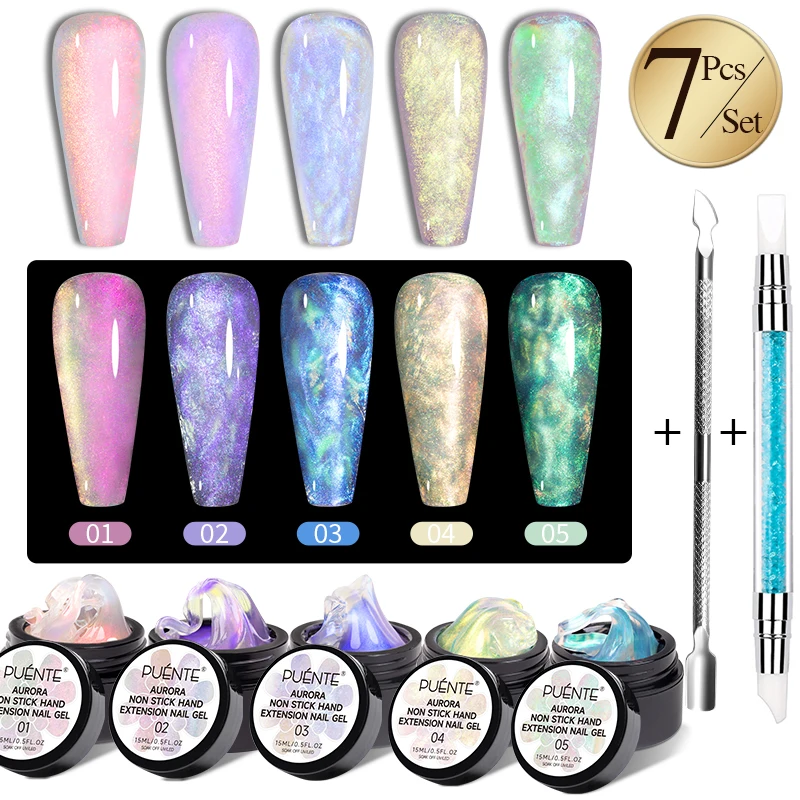
PUENTE 7Pcs/set Aurora Glitter Non-Stick Hand Extension Nail Gel Kit 3D Sculpture Carving Soak-Off UV Nail Art Hard Gel Varnish


PUENTE 7Pcs/set Aurora Glitter Non-Stick Hand Extension Nail Gel Kit 3D Sculpture Carving Soak-Off UV Nail Art Hard Gel Varnish
SPECIFICATIONS
Application: Nail Art Beauty,Nail Beauty Salon, Private Using
Attention: It is solid nail tip gel, use like plasticine, not liquid gel polish
Brand Name: puente
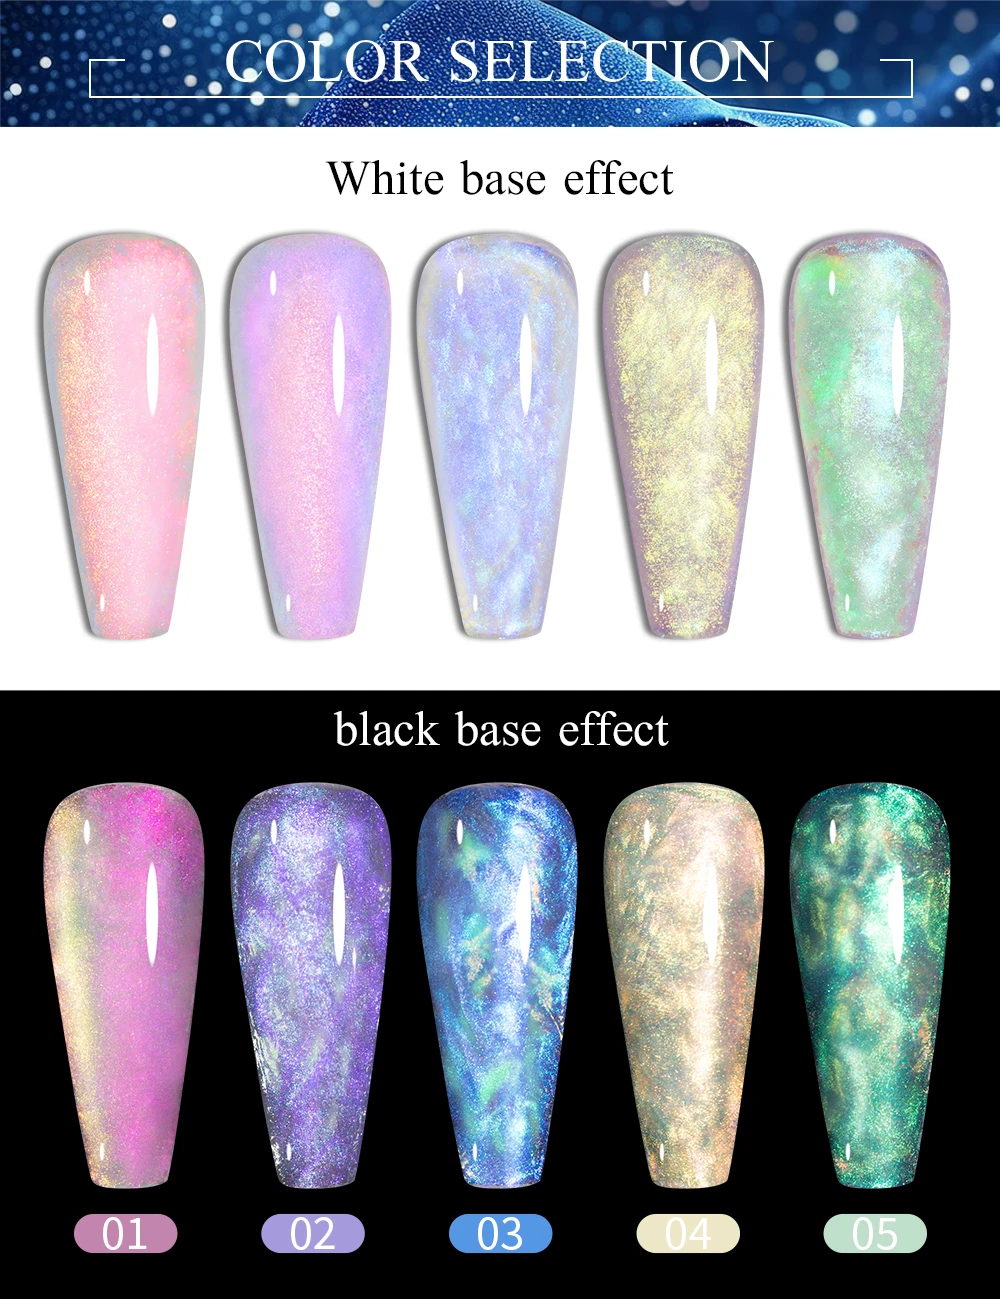
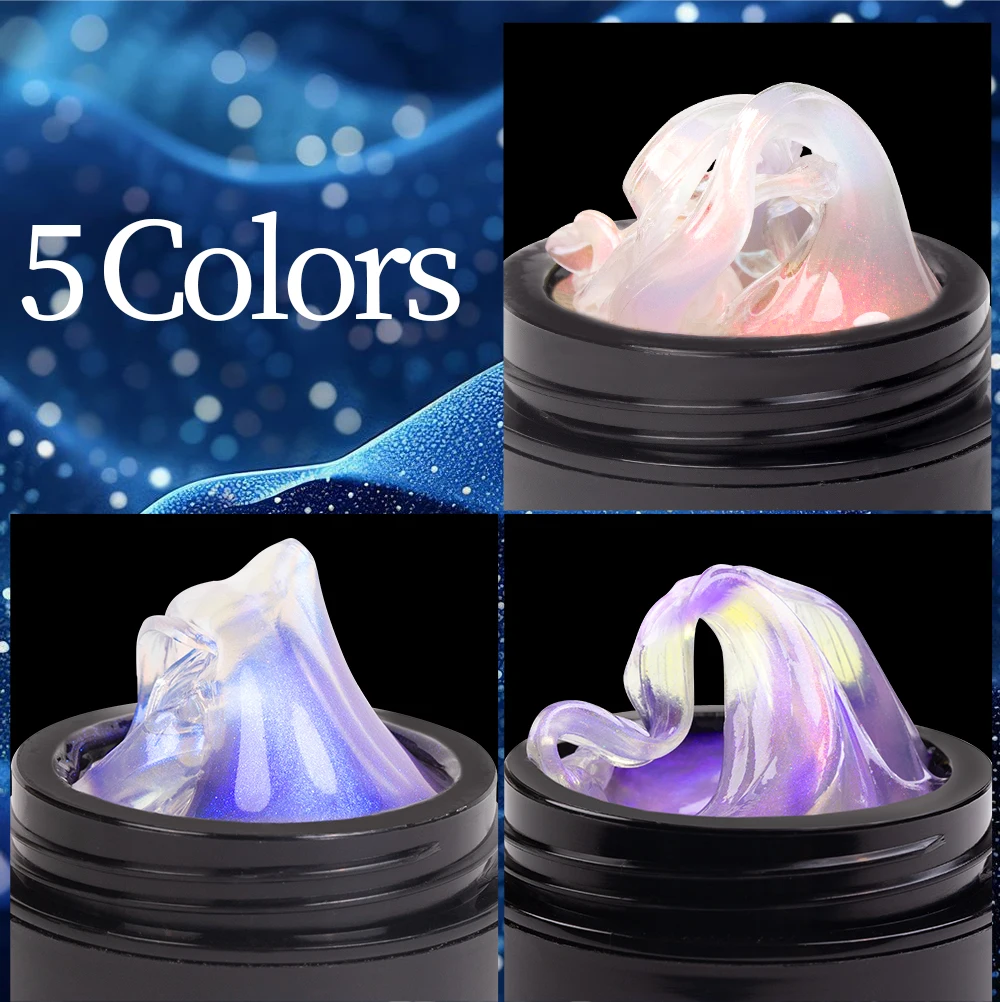
Color: 5 colors
Curing Tools: UV Lamp,Led Lamp
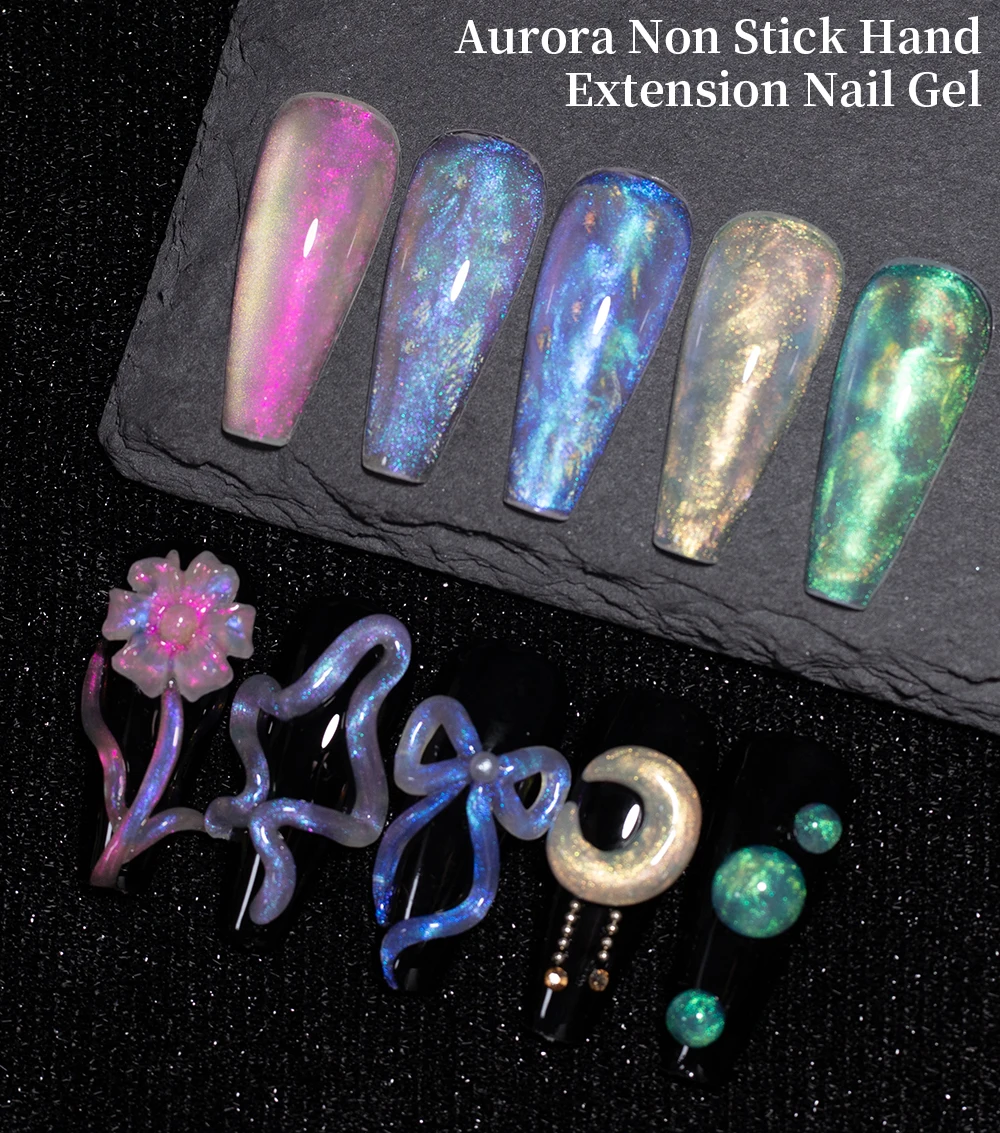
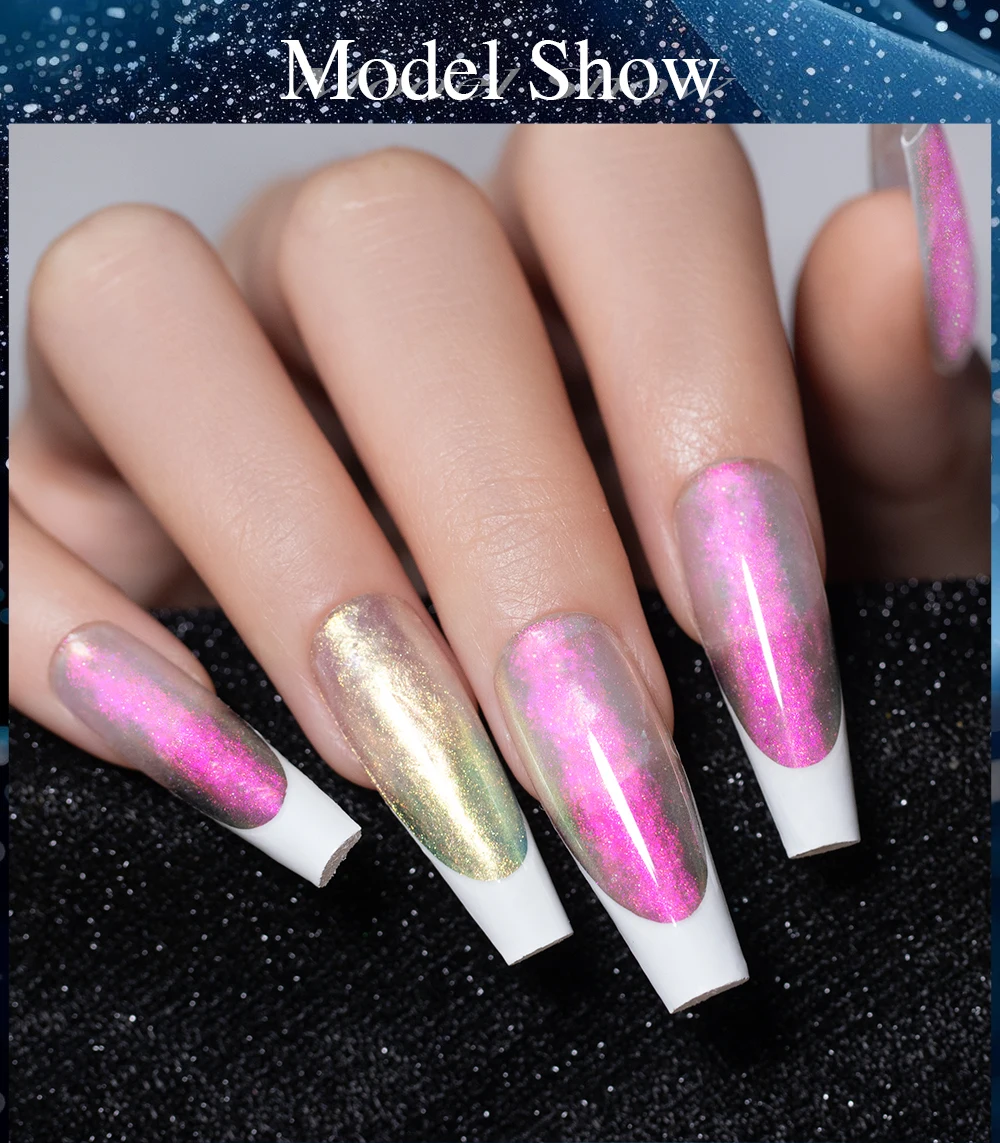
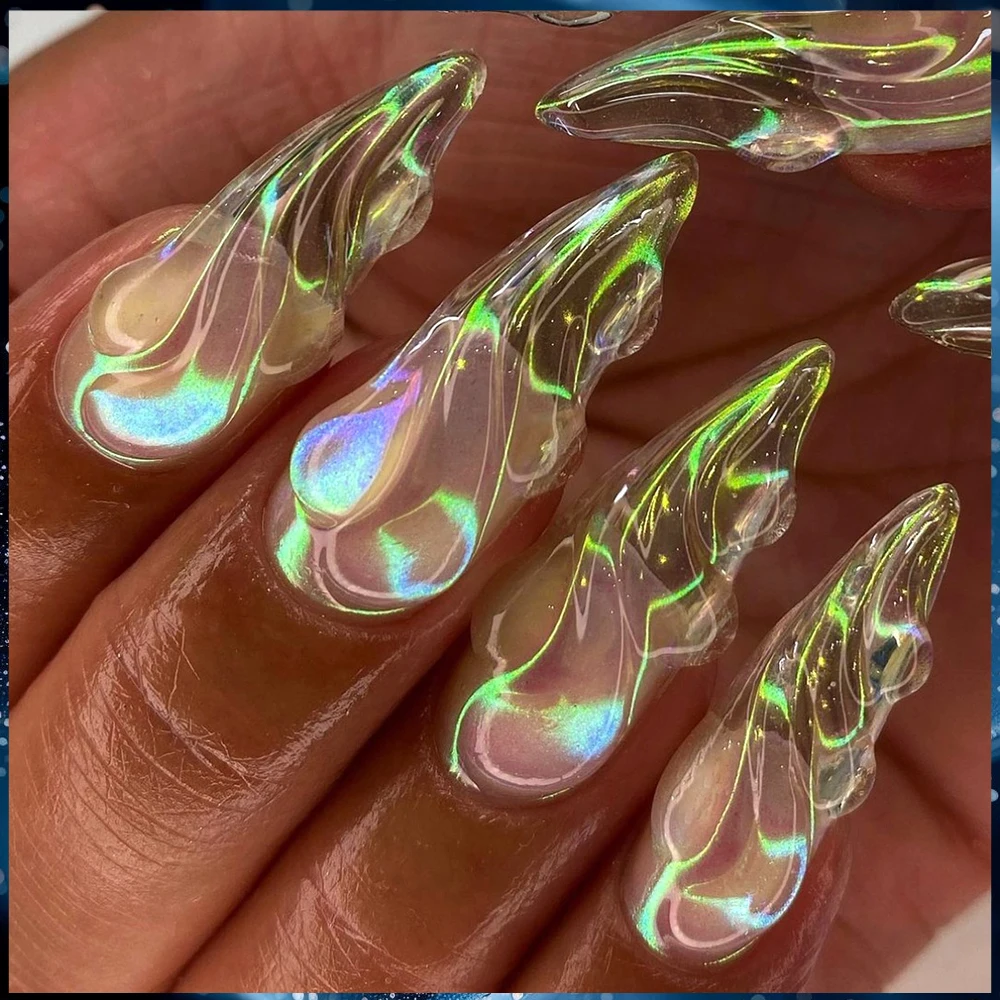
Feature 1: Sparking Aurora Effect
Feature 2: Quickly Extend Nail
Function: Nail Extension,3D Sculpture Modeling
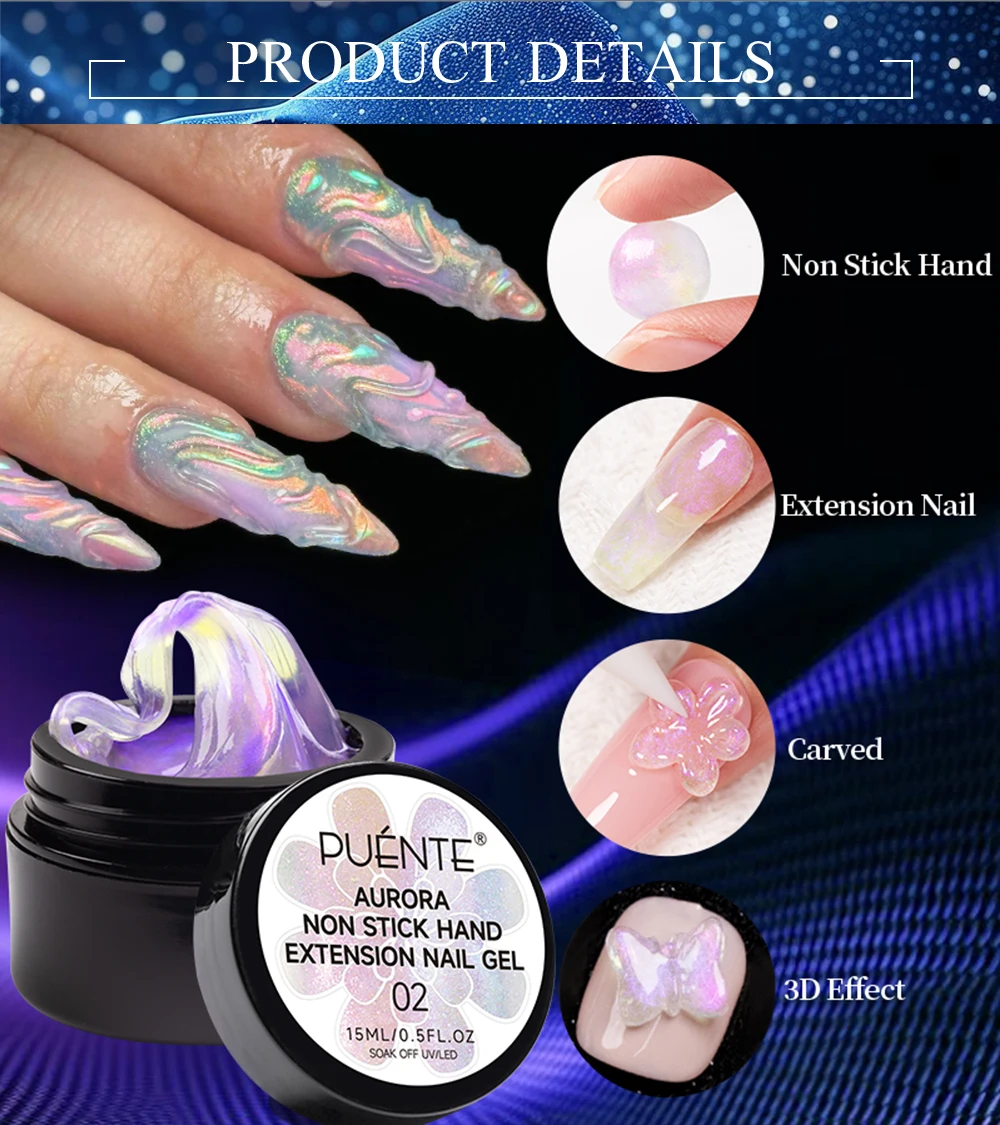
Gel Nail: Non Stick Hand Solid Extension Nail Gel
Hign-concerned Chemical: None
Ingredient: resin
Lasting effect: About 2 weeks
Model Number: Aurora Non Stick Hand Extension Nail Gel Set
NET WT: 15ML Extension gel*5pcs
Need: Base coat, top coat
Number of Pieces: One Unit
Origin: Mainland China
Product Name: Aurora Non Stick Hand Extension Nail Gel
Quantity: 7pcs/set
Semi Permanent UV LED Enamel: Gel for nail, Nail Gel
Type: Gel Polish
Volume: 15ml
PUENTE 7Pcs/set Aurora Glitter Non-Stick Hand Extension Nail Gel Kit 3D Sculpture Carving Soak-Off UV Nail Art Hard Gel Varnish
Brand Name: PUENTE
Materials: Resin
Volume: As picture shows
Net Weight:About 160g
Curing Tools: UV Lamp, LED Lamp
Professional usage:
Usage 1: extension nail
Step 1. Clean Nails then trimming nail surface as normal manicures process.
Step 2. Apply base gel first,which can make polish lasting longer, cure with UV lamp or LED lamp. (Necessary)
Step 3. Appy extension nail gel on the tips mould.
Step 4. Apply the gel on the root of the tips mould.
Step 5. Press the extension nail gel with your fingers.
Step 6. Put the tips mould with gel on your fingernails, and make sure it fully plying-up, then cure it under UV/LED Lamp.
Step 7. Remove the tips mould.
Step 8. Shaping the nails to get the shape you want.
Step 9. Apply top coat and cure it under UV/LED Lamp.
Usage 2: Carved
Step1. Take the extension nail gel.
Step2. Rub it with your fingers.
Step3. Put it on your fingernails.
Step4. Move it, and make sure it is the right place you want.
Step5. Press it.
Step6. Cut it with nail tools.
Step7. Carved it with carving pen.
Step8. Put rhinestones in the middle of the carved flower, then finished.
Usage 3: Apply nail powder
Step1. Take the clear extension nail gel.
Step2. Rub it with your fingers.
Step3. Put it on your fingernails.
Step4. Remove the extra parts, and move it to get the perfect effect.
Step5. Appy nail powder on it.
Step6. Remove the extra powder, then finished.
Two Steps to remove:
• Soak nails in a glass bowl filled with a small amount of acetone, or wrap each nail in cotton pad soaked with acetone for around 5 to 10 minutes.
• Product will start to become soft and you can gently file it away or slide it off using a small wooden stick.
Note:
1. Please avoid contact with skin. In case of an accident or if you feel unwell, seek medical advice immediately. (show the label whenever possible)
2. Keep tightly sealed. Keep out of sunlight. Keep out of reach of children.
3. Use a steel pusher to take mung bean sized gel at one time, do not twist or take the gel multiple times